
News
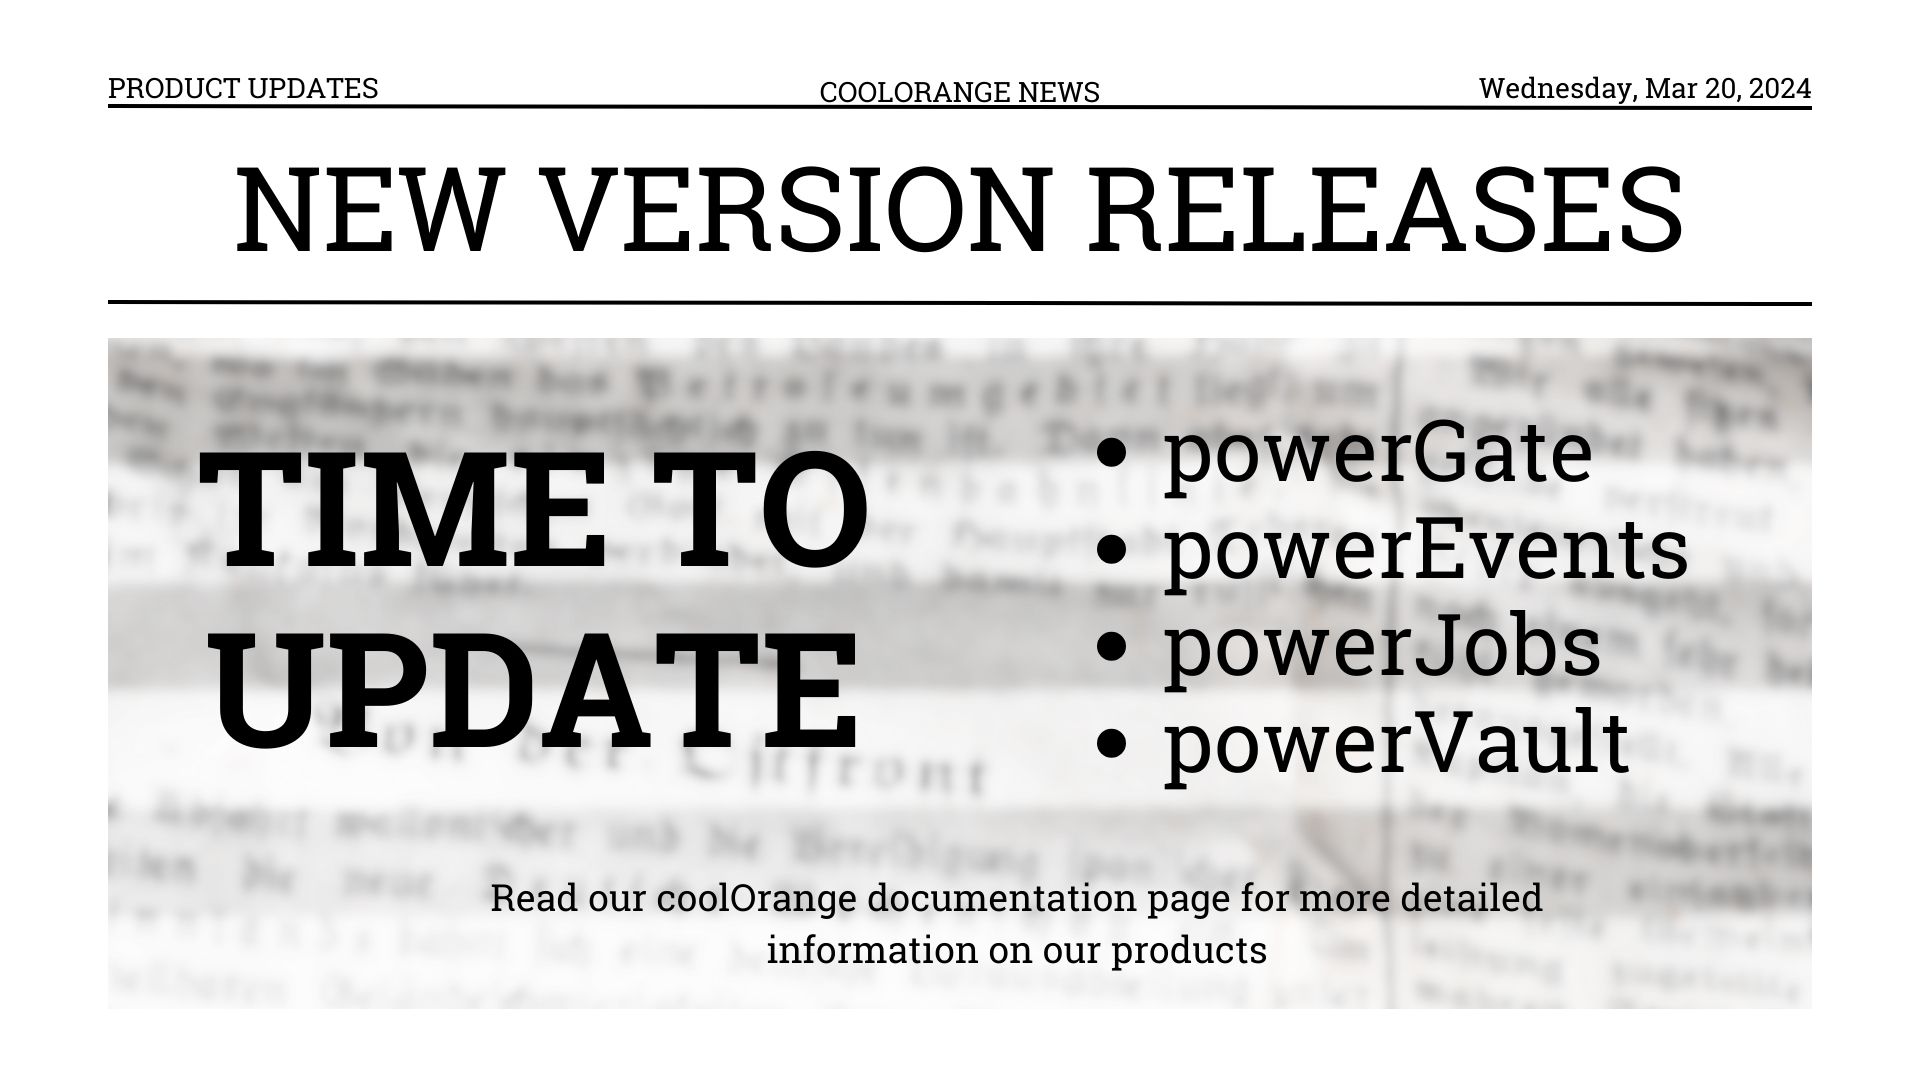
Product Updates - March 2024
Explore the most recent updates to our products this month, thoughtfully crafted to elevate your...

News
Simplify your CAD BOM synchronization across systems with powerPLM
In the vibrant realm of fitness equipment, Woodway has carved a niche for itself, celebrated for...

Connecting vault with ERP
Beyond One-Size-Fits-All: Why a tailored Vault-ERP integration outperforms generic out of the box solutions
When you opt for a generalized integration solution to connect your Autodesk Vault with an ERP...
News
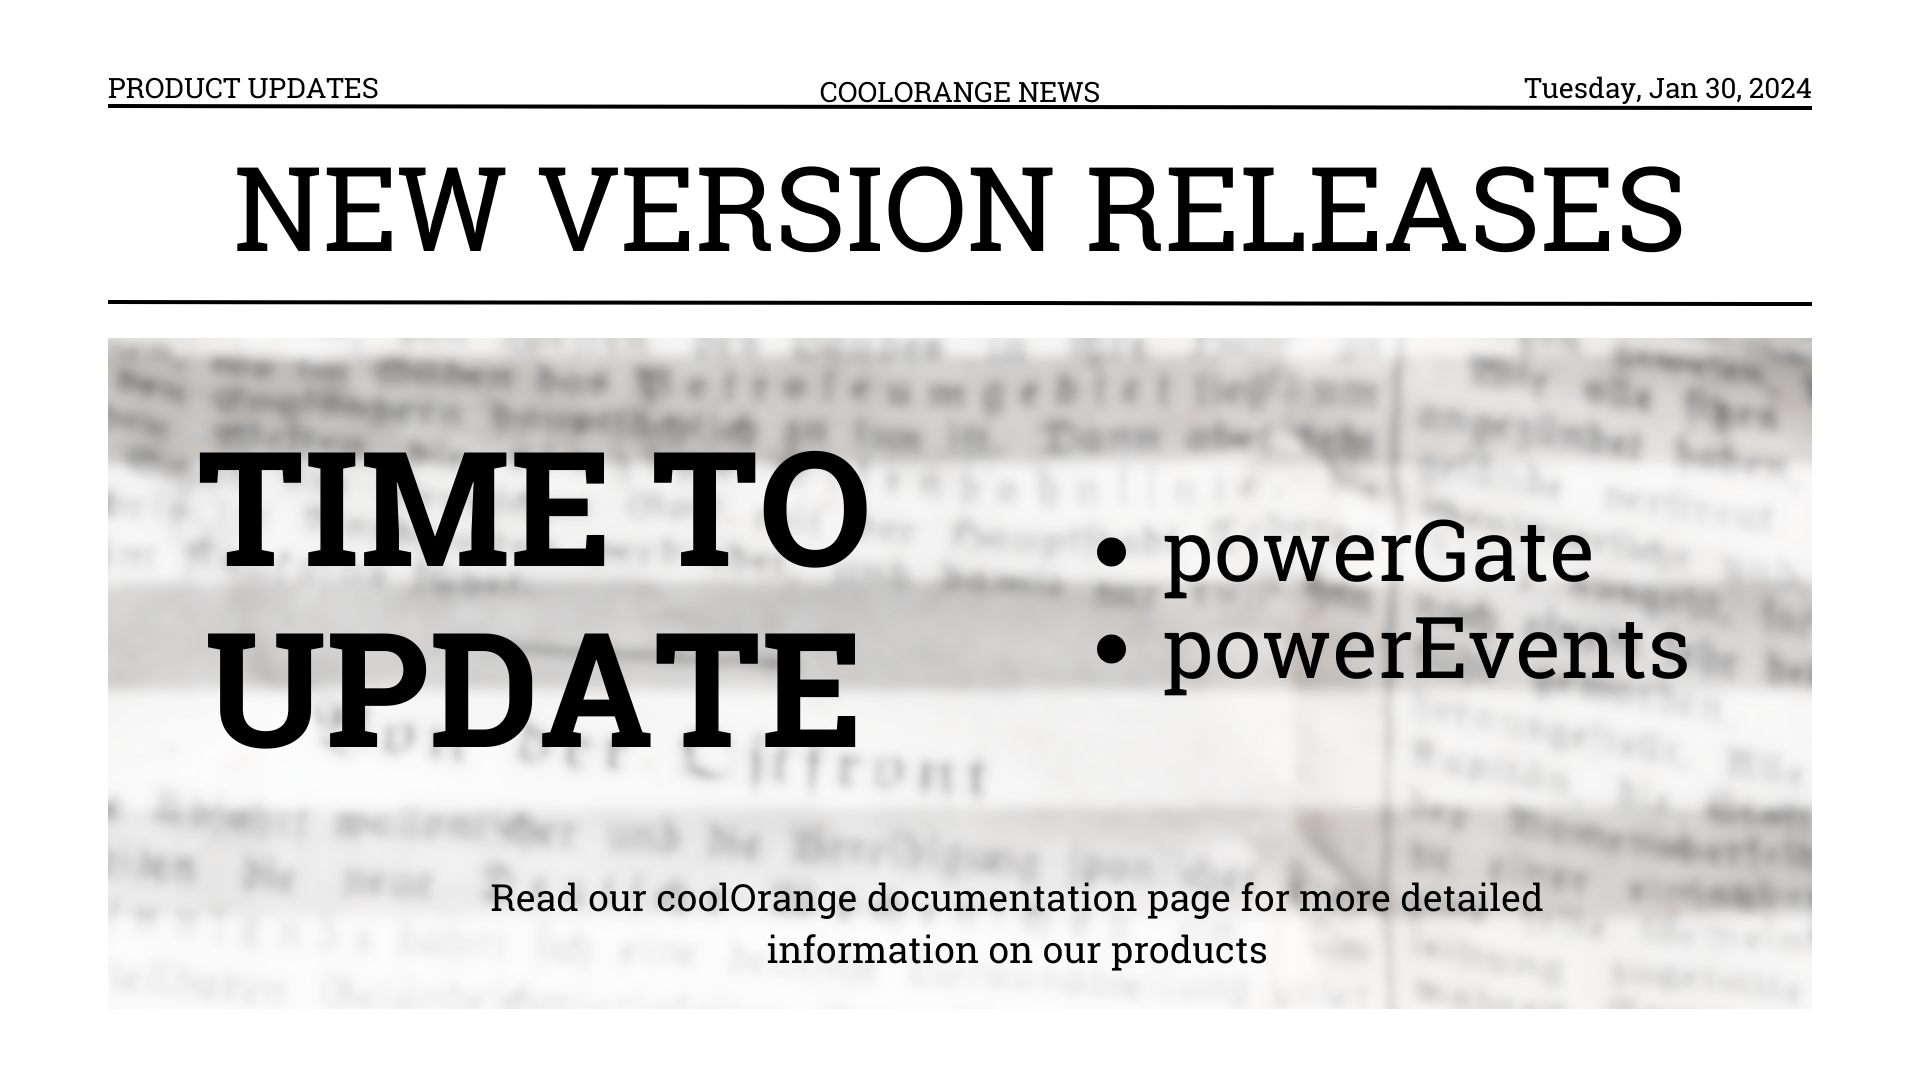
Product Updates - January 2024
Discover the latest updates to our products for the first month of the year, meticulously designed...

Vault best practices
Fostering Teamwork: Exploring the Ins and Outs of powerPLM's Integration Magic
Navigating the ever-evolving realm of product lifecycle management (PLM) demands tools that not...

Connecting vault with ERP
Streamlining Design Processes with powerGate Integration for Autodesk Vault
In the ever-changing world of design and engineering, the ability to seamlessly connect different...